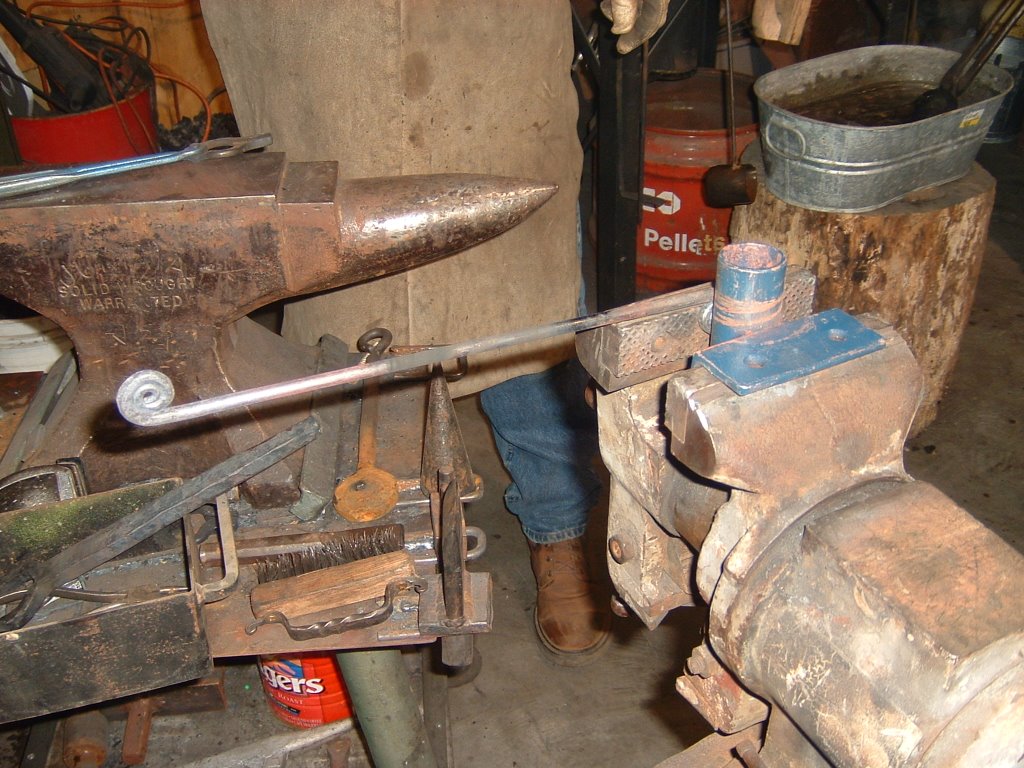
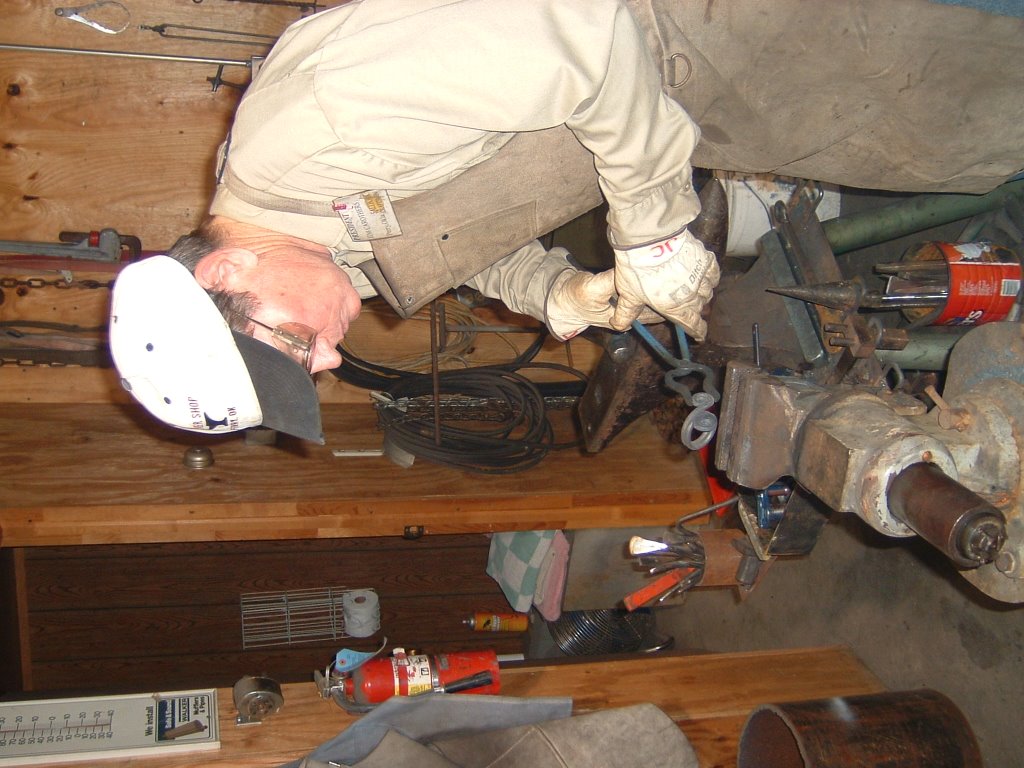
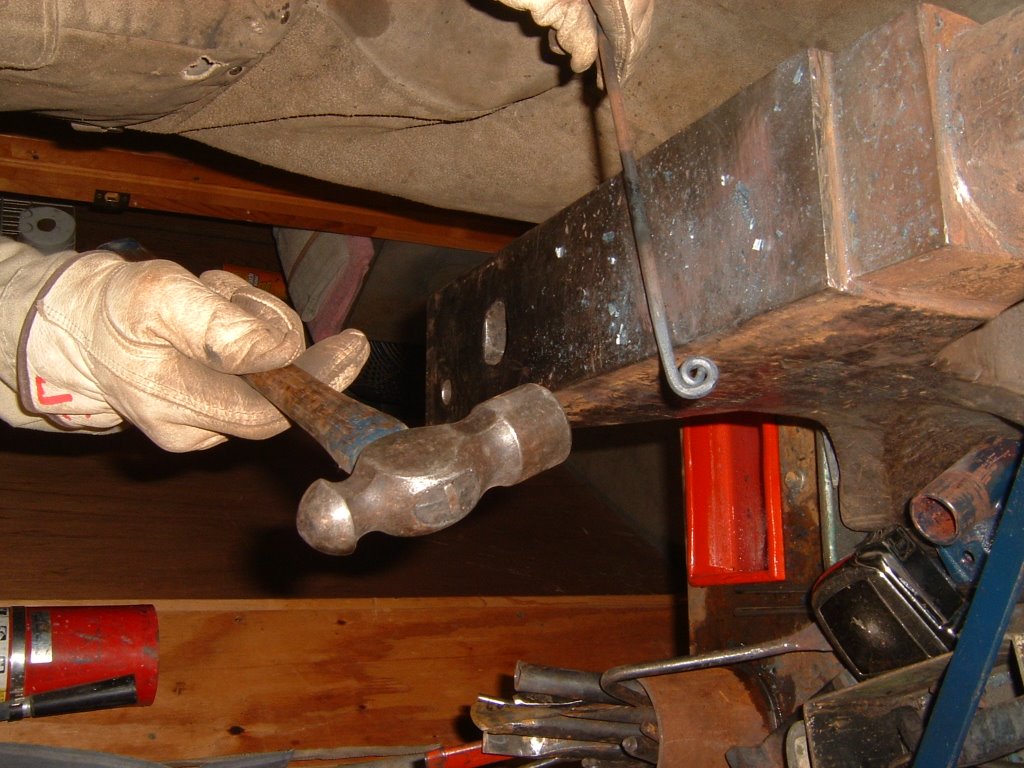
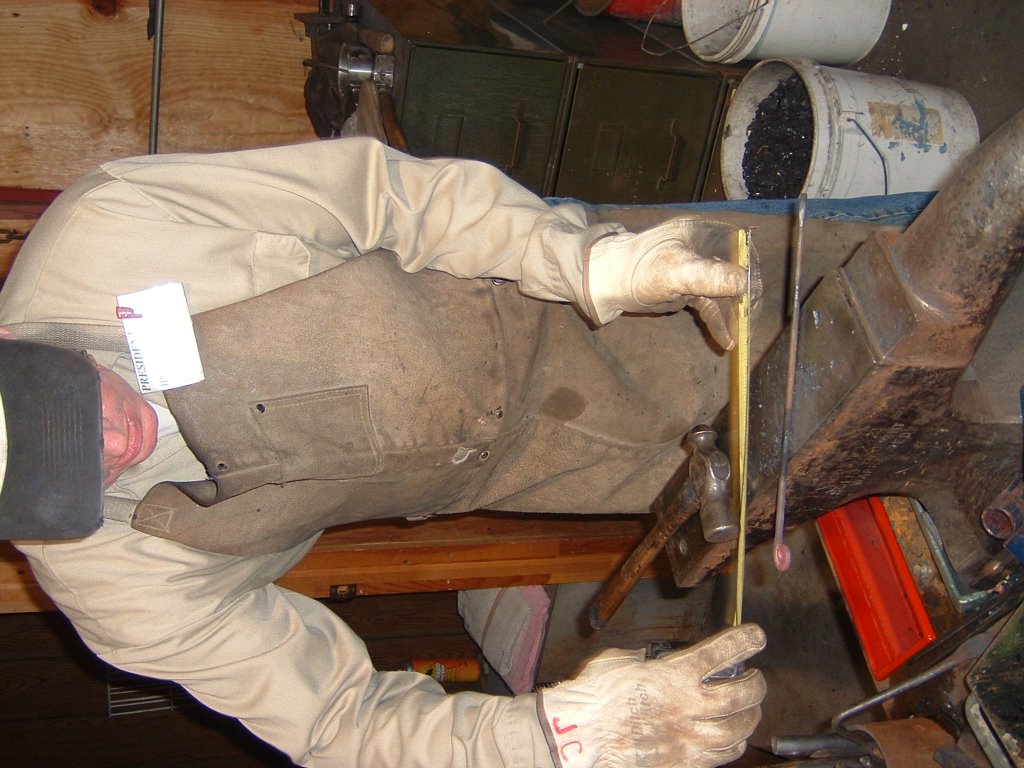
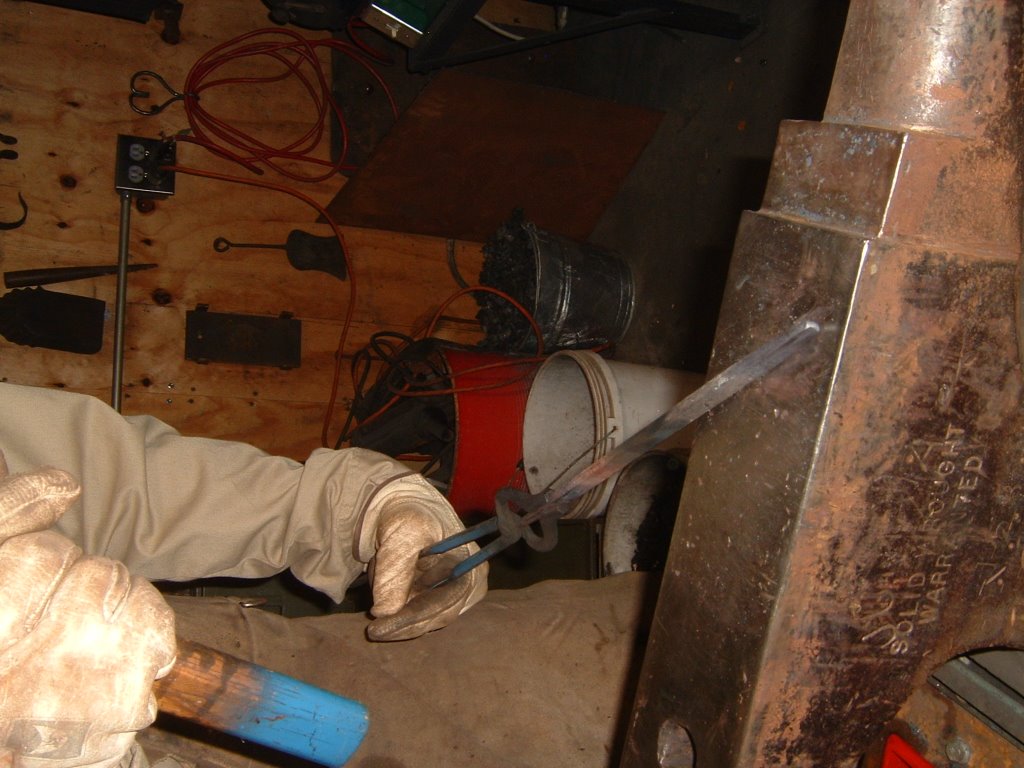
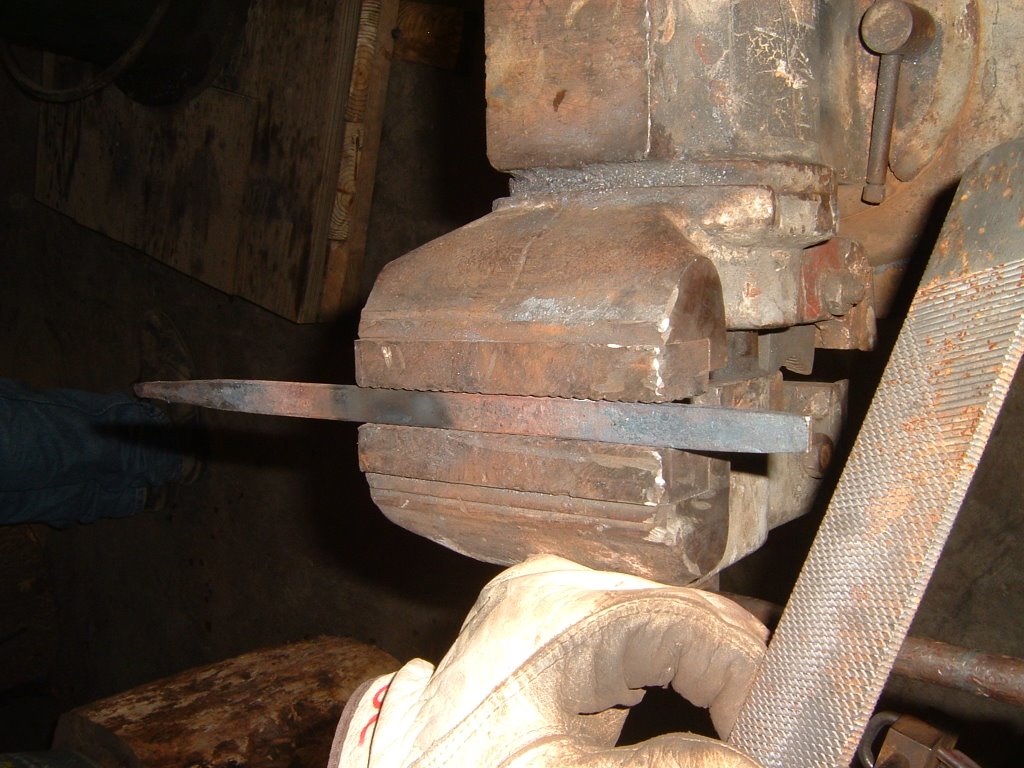
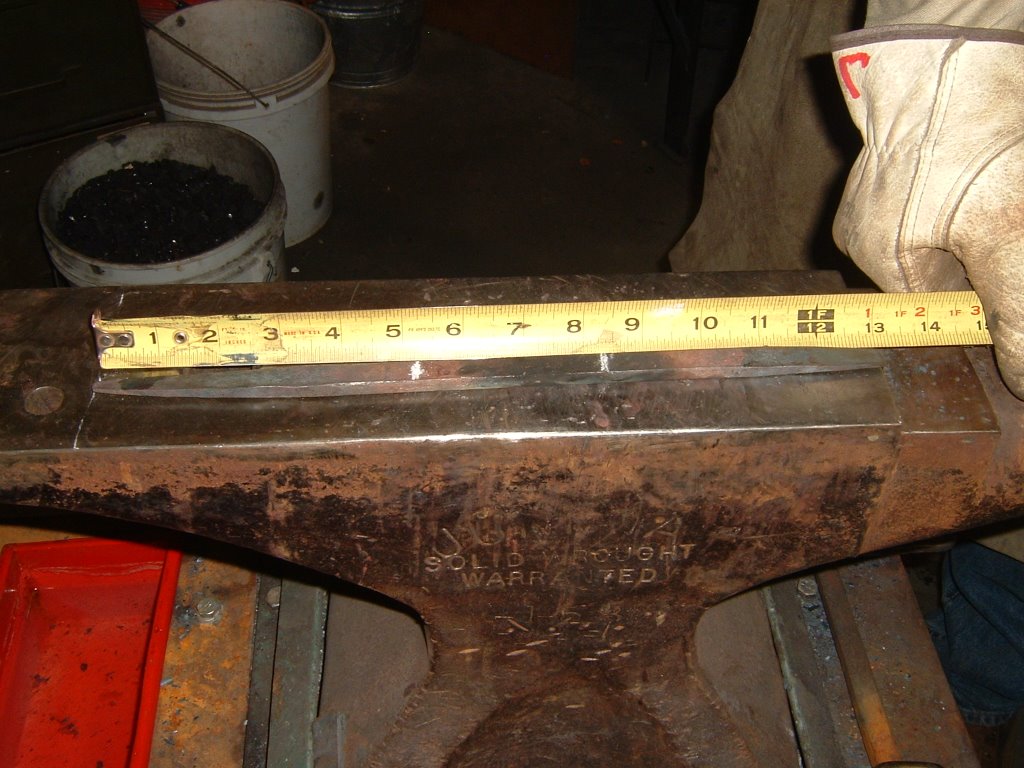
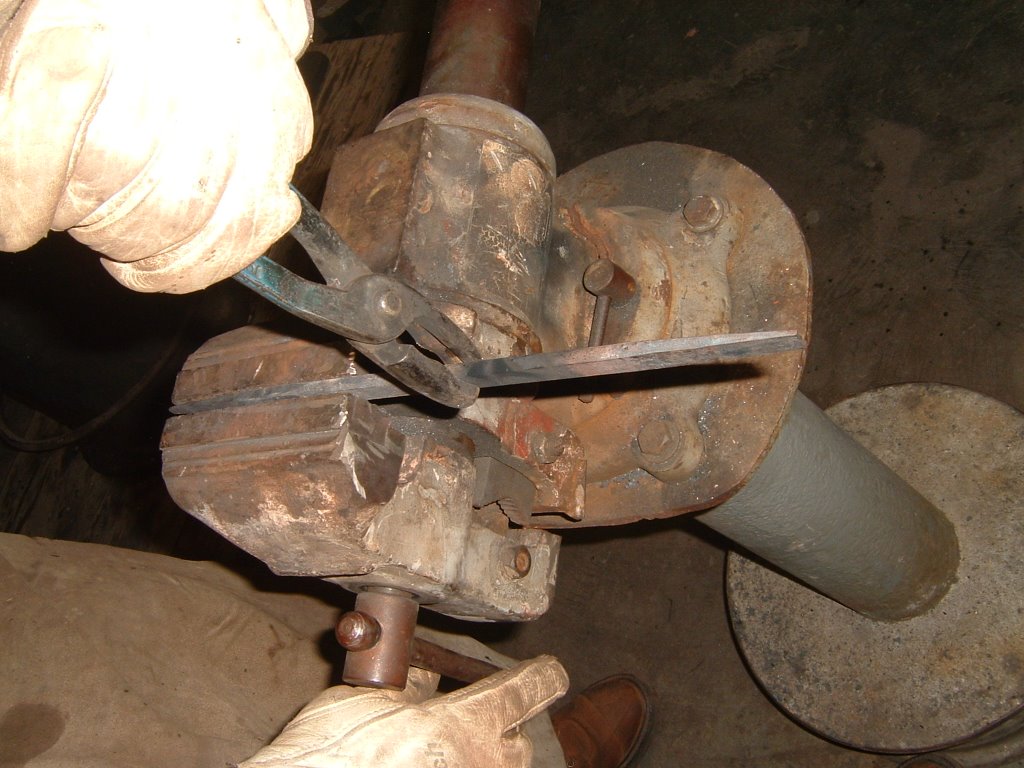
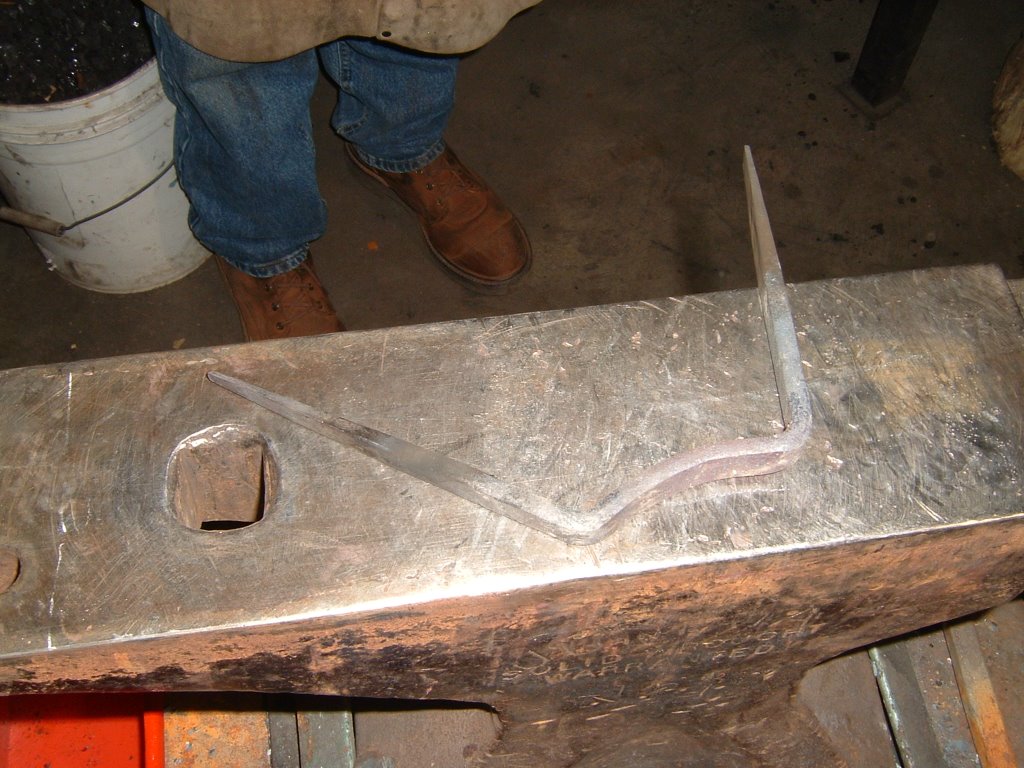
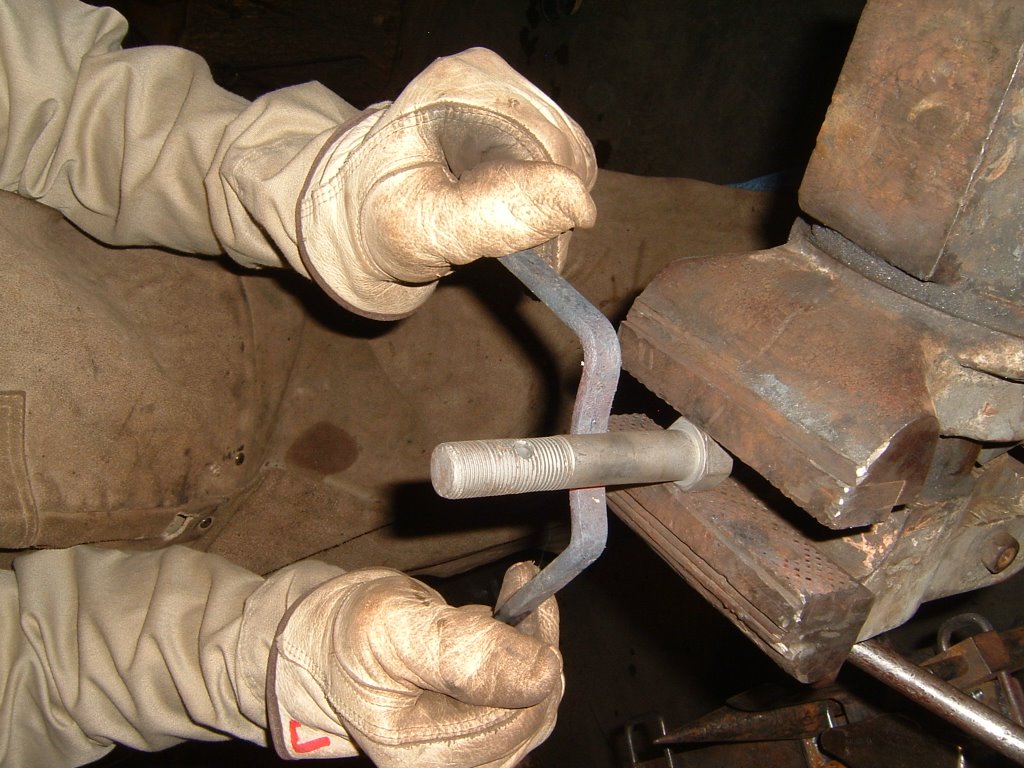
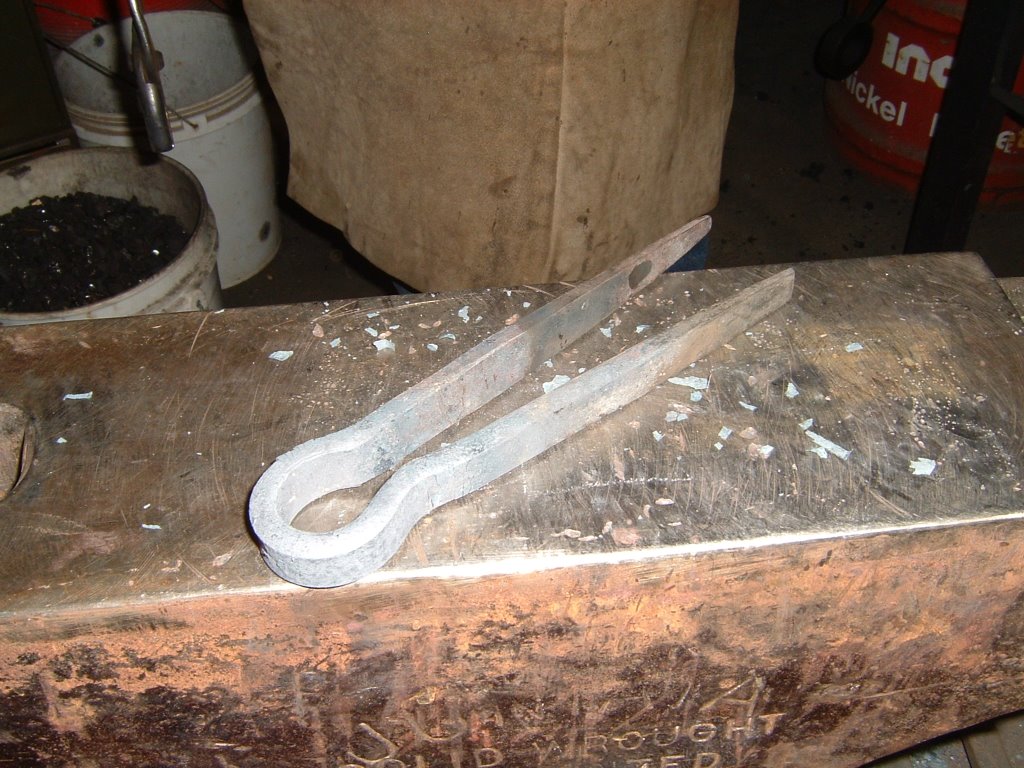
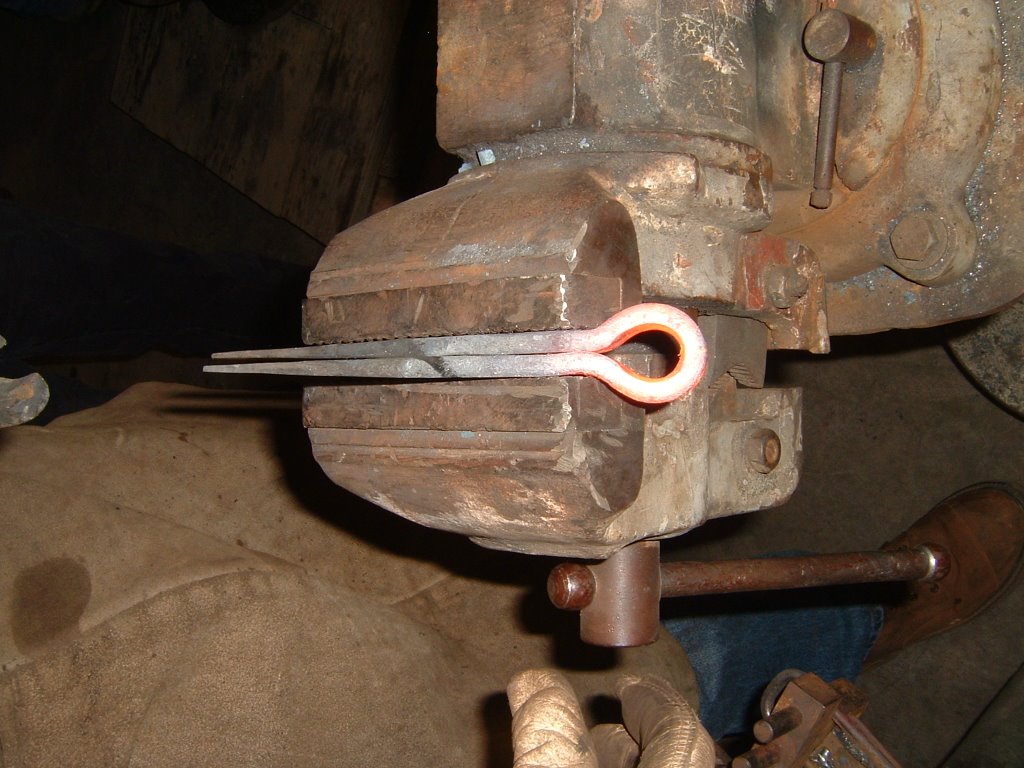
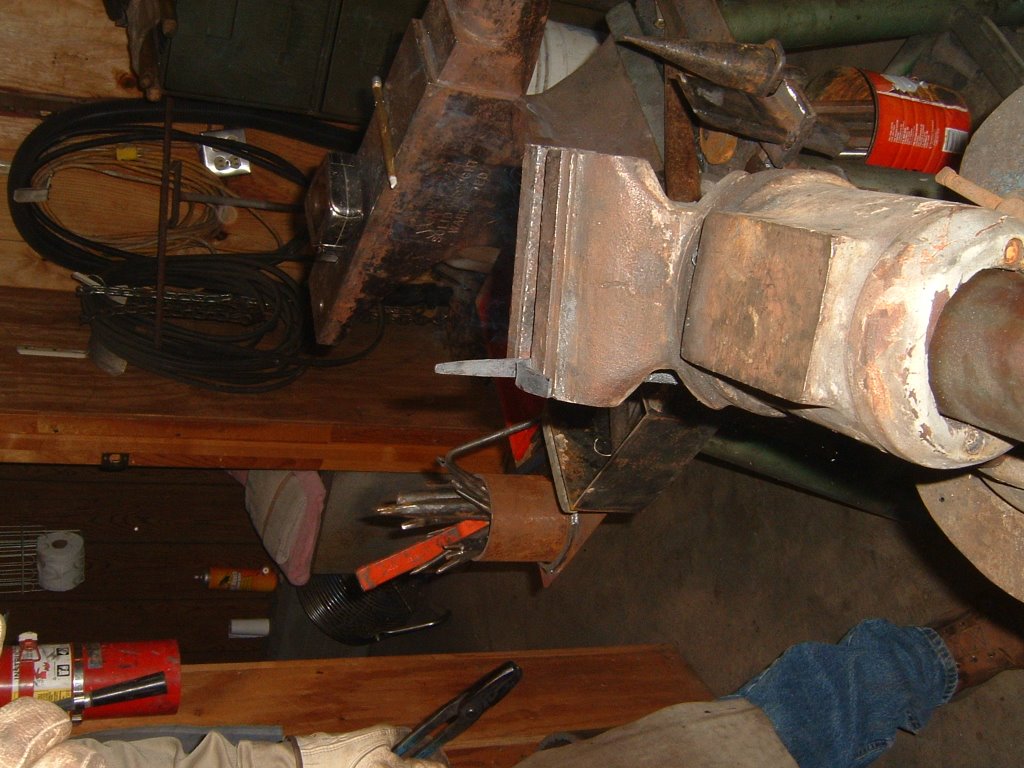
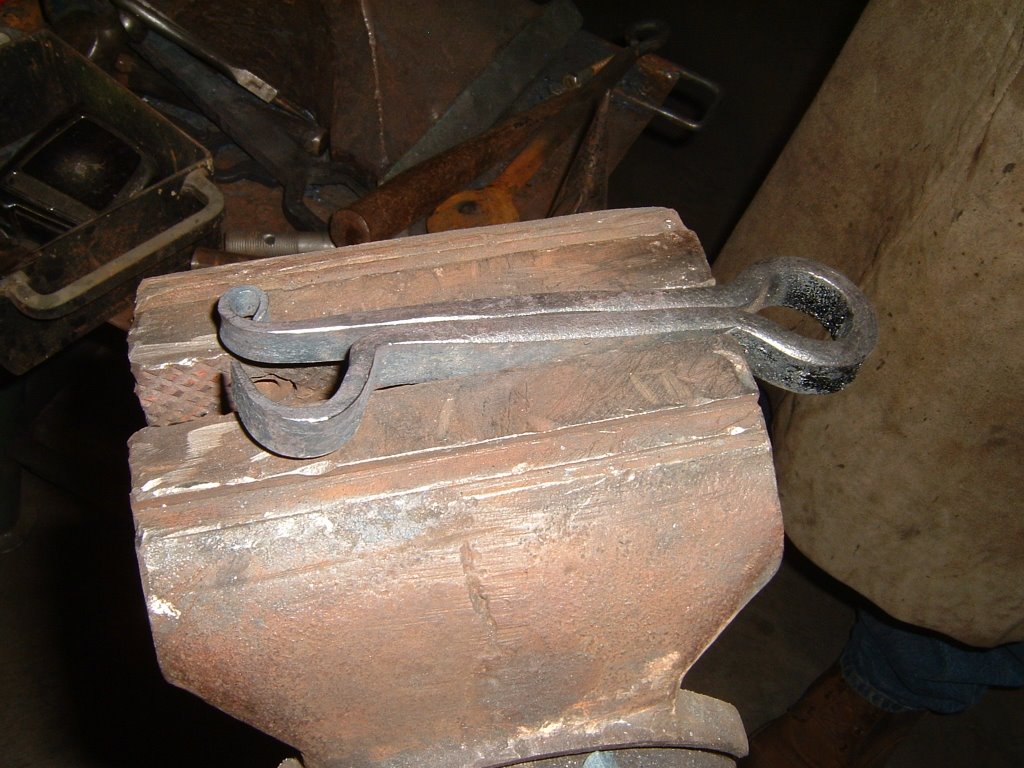
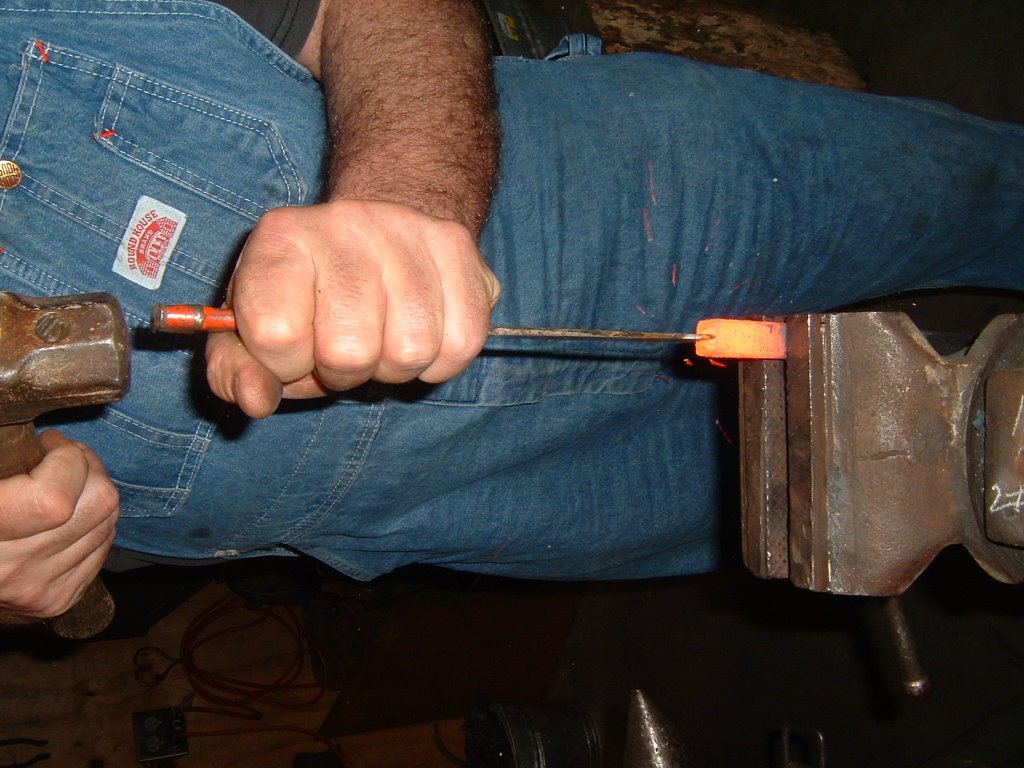
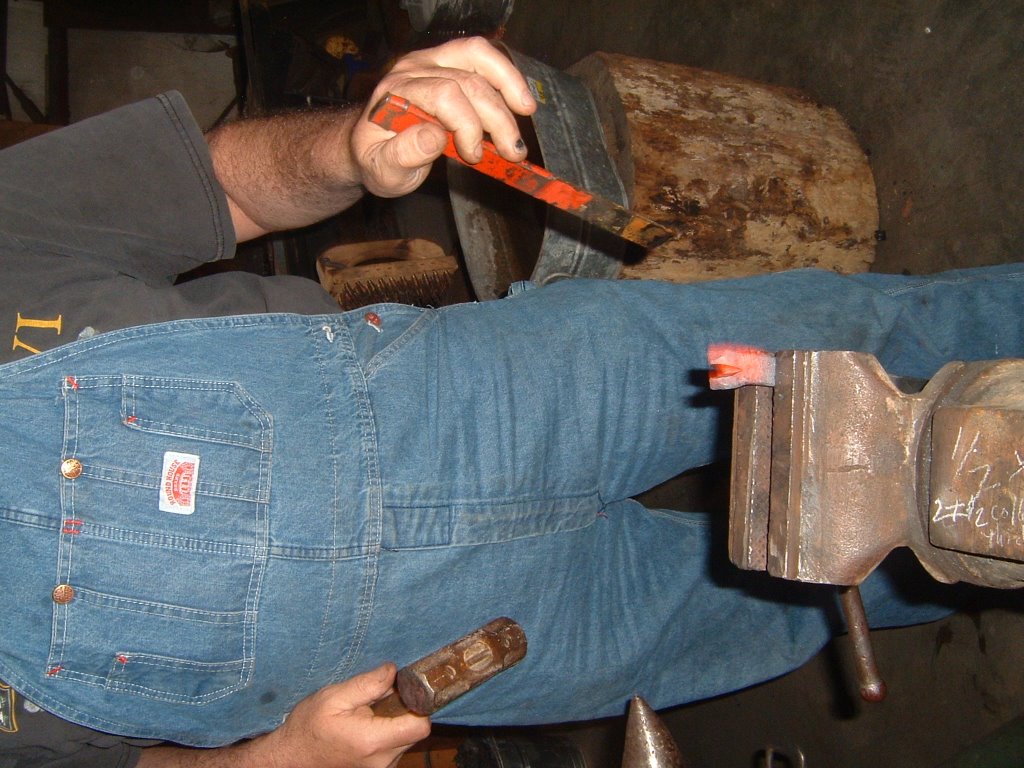
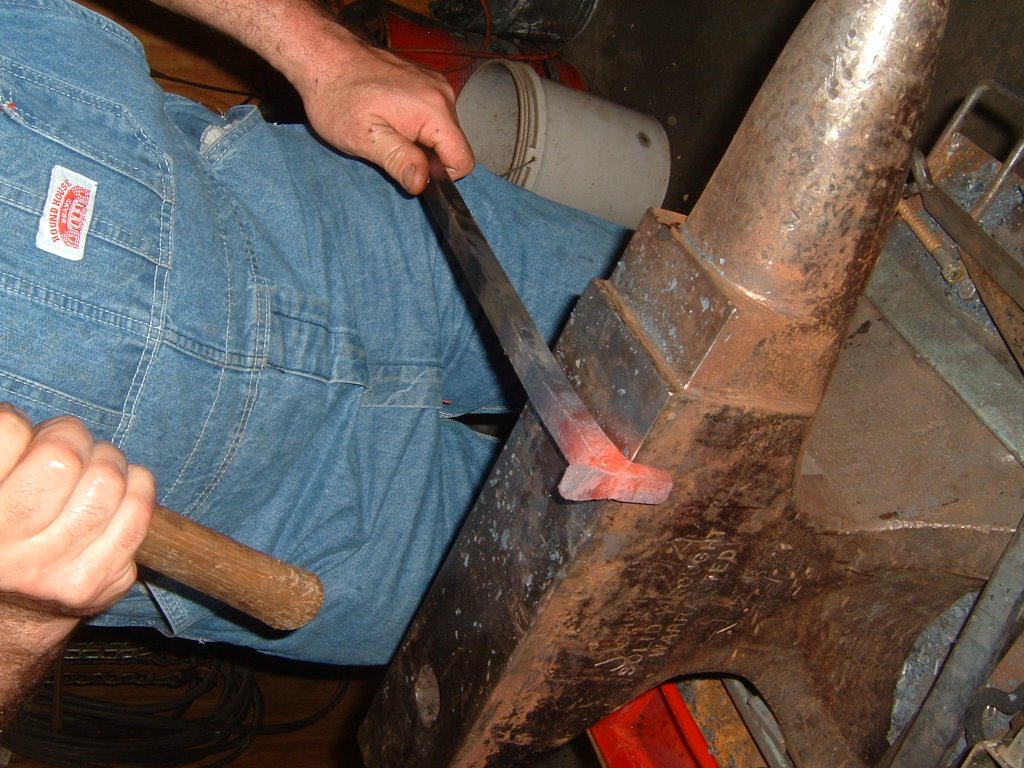
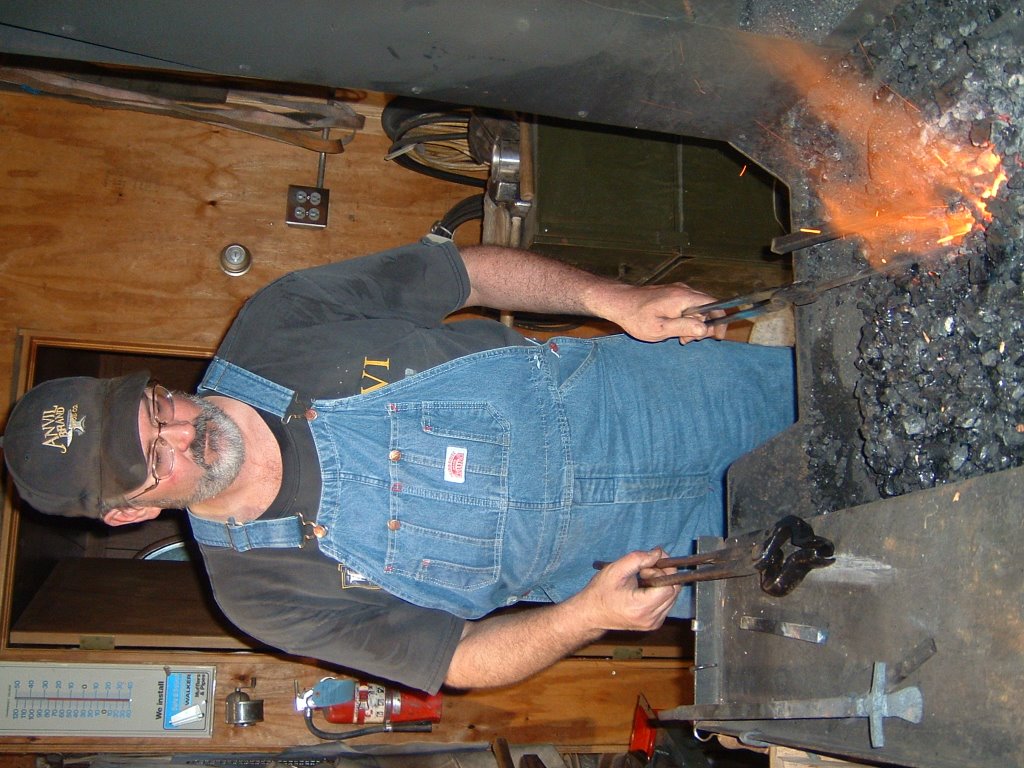
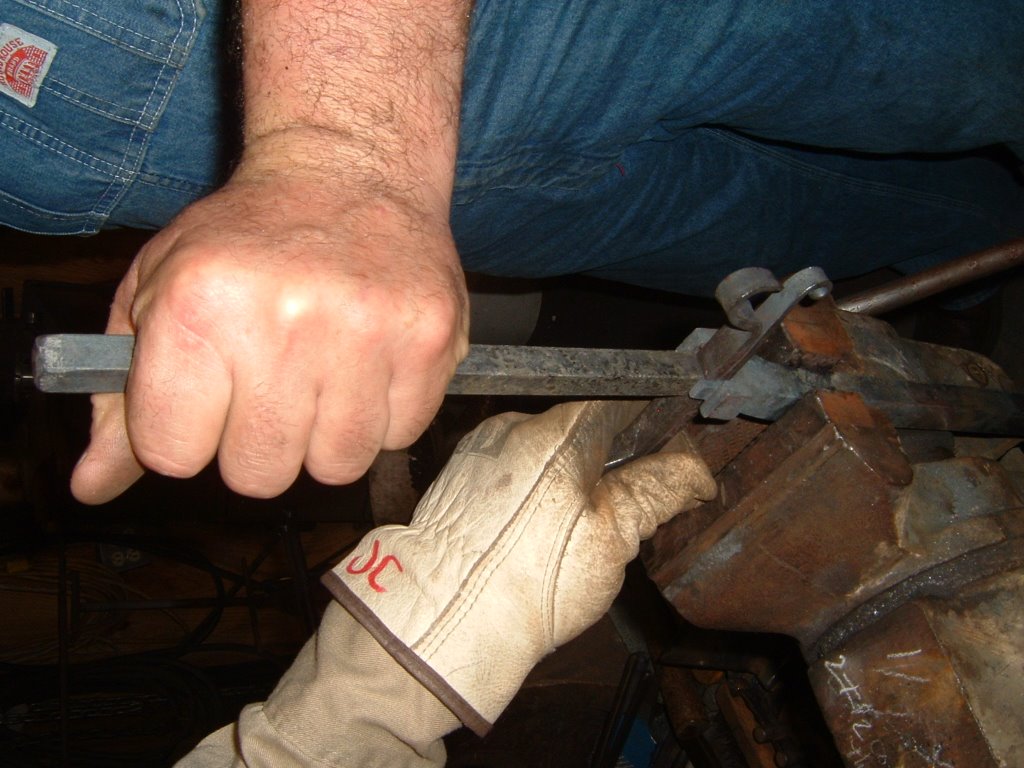
Ok, so my first pair of tongs aren't good ... but they work. I made some "practice" tongs out of shackle rod. It seems that shackle rod is workable, and not pressed scrap metal like concrete re-inforcement bar (re-bar). I used an article from anvilfire.com called simply Tongs. The reins, hinge and jaws are all a bit rough, but I am pleased with them as a first effort. I took them to the September 2006 Saltfork Blacksmith meeting, and reworked the reins and jaws using a power hammer. After making these, I learned 2 lessons: start shaping a round or v bit early on, and don't be in too much of a hurry riveting them together. After they cool down, you will see square corners that need rounding, etc.
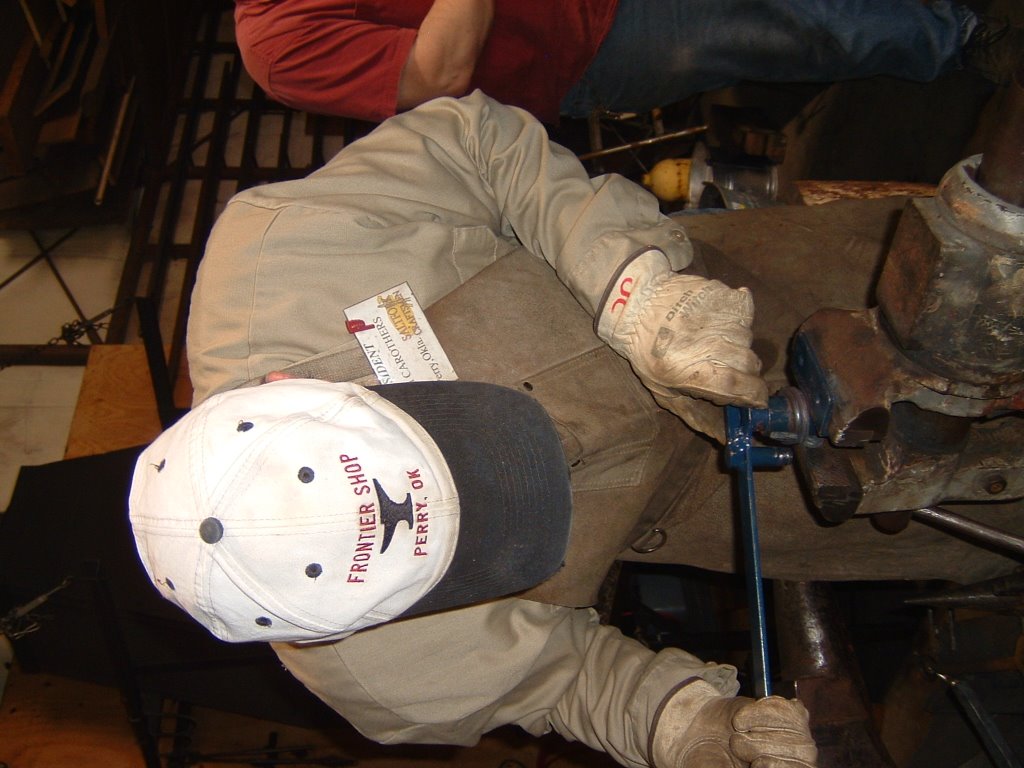
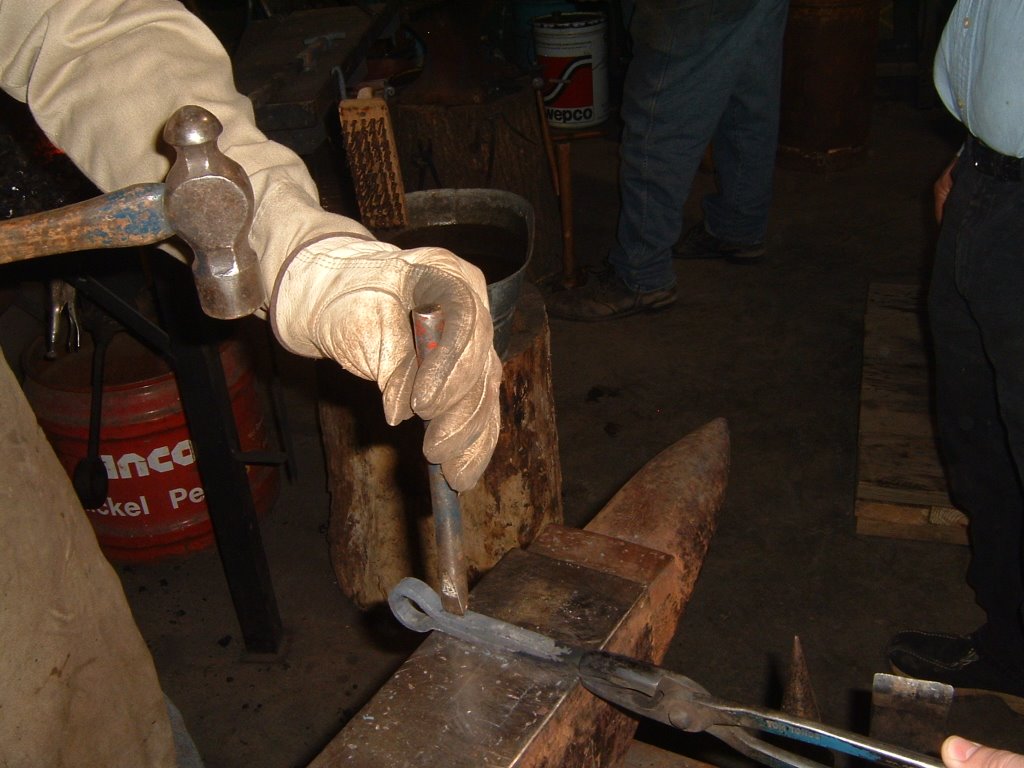
A quick note on this picture. I was wearing gloves because I was wire-brushing my tong to clean off scale. If I am forging, I use 1 glove on the tong hand at most.
A few months back, my dad gave me an old Sears 1/4 hp grinder with a wire brush. I bought a grinder stand at Harbor Freight. Over the labor day weekend, I drilled 4 mounting holes and mounted it up. After donning an apron, gloves and a full face shield, I wire brushed an old rusted hammer head that I found behind my parents' house. It looked so much better that I wire brushed my tongs too!
A blacksmith told me that shackle rod should probably not be hardened, as it gets quite brittle in a water quench. I know this is true for re-bar, but shackle rod does not feel as hard to me.
Below are some collected bits of wisdom:
From "Forge & Anvil": Good tongs have a solid hinge.
From "Practical Blacksmithing": Good jaws are set so they touch at the tip first, and grab completely as you squeeze.
From IForgeIron: A refinement to Riveting your tongs.
Uri Hofi punches and drifts his hinges. This probably allows for a wider range of motion, and a smoother joint.
Ideally, tongs should have an offset in the handle right by the joint that allows them to hang over a 3/8 or 1/2 in bar without the handles spread out. This makes for a neat and tidy shop, and saves space.
My adventures as a beginning blacksmith. Read about setting up my forge, finding and building tools, and making projects.
September 17, 2006
September 11, 2006
September 2006 Saltfork Craftsmens Meeting
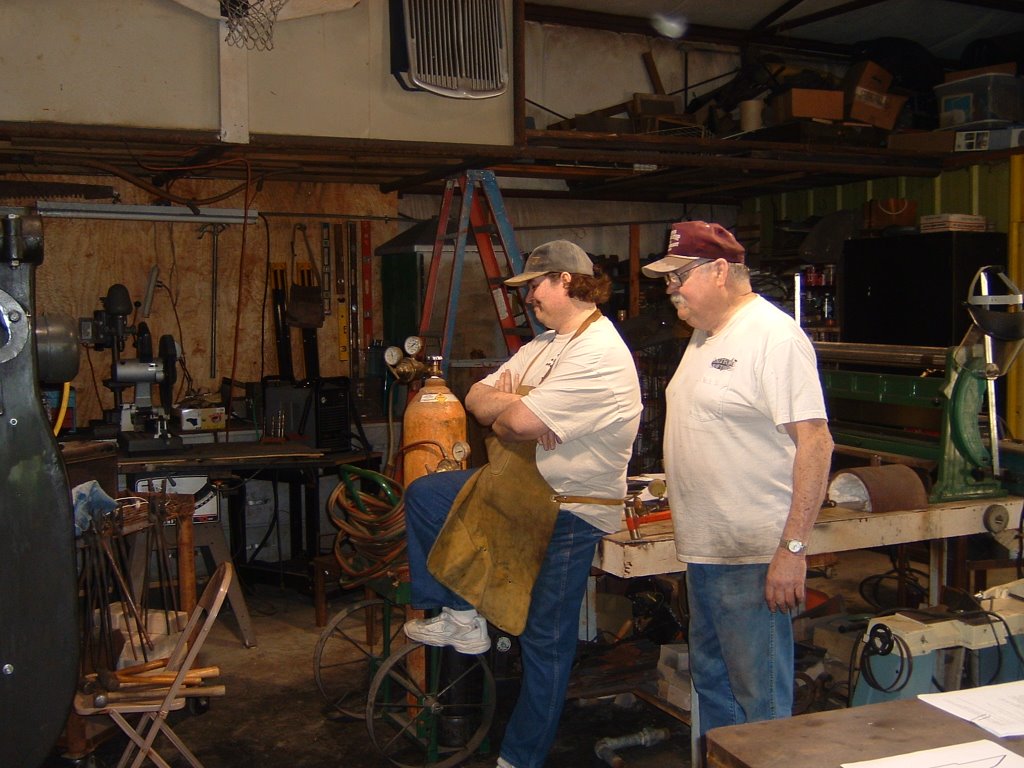
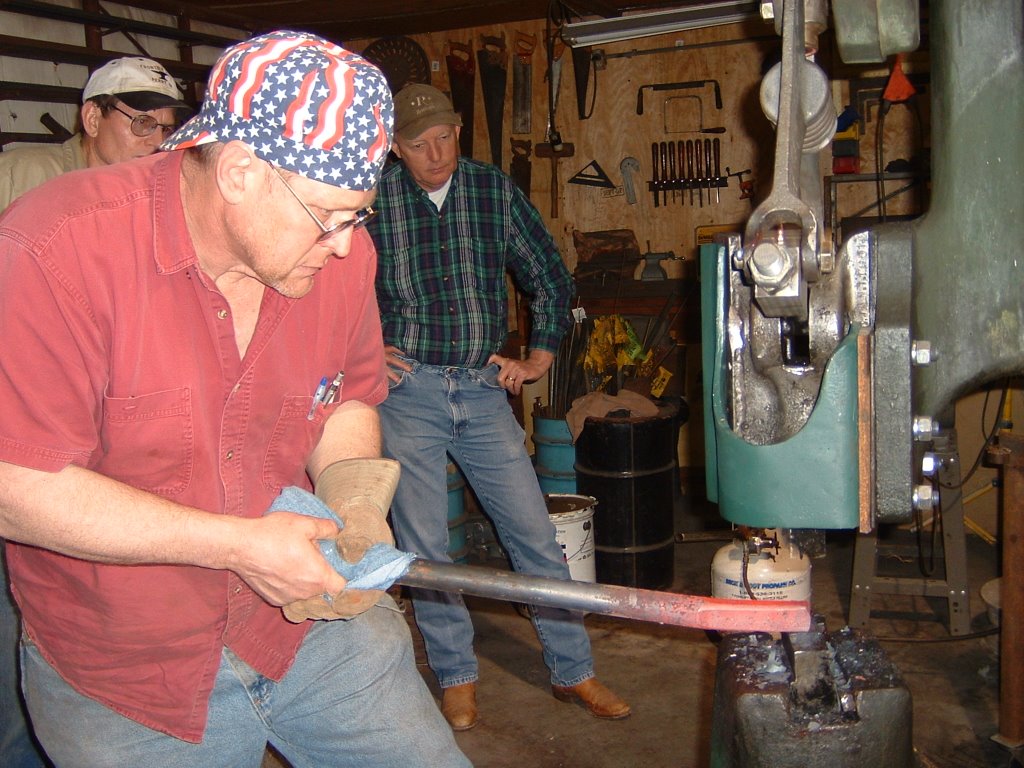
The Saltfork Craftsmen Artist Blacksmith Association held another blacksmith's meeting at Dan Cowart's shop. If you live in the Bartlesville or Dewey area, you missed out! I forgot my camera, so please accept my apology for not taking pictures. We had 4 beginners there (counting me) and about 14 total attending. I brought a pair of heavy tongs that I had rough-forged from 5/8" shackle rod. Some of the more experienced blacksmiths advised me to draw out the handles more and draw out the bit more too. So, I chiseled off the old home-made rivet and took advantage of the opportunity to use Dan's power hammer to draw out the reins. Wow! I want a power hammer! After re-riveting the tongs, I tried to form a V in the bit. I think that was a mistake. Also, I should have spent a bit more time thinking about that problem - I ended up using the edge where the top plate meets the horn to hold the bits steady and chiseling a small line down the middle, but I couldnt get them to fold into a V - they just wanted to twist. That was a good lesson for me - don't get in a hurry, and think through all of the steps you will be taking. A while later, I remembered the swage block, but I will have to try that at home. After the meeting, I went to a garage sale and found a beat-up 1/4" top fuller without handle, a few ball pein hammers and some older wooden handles. That fuller plus the V edge of my swage block might just do it.
Another thing I did at the meeting was to start on a blunt punch from a car coil spring (probably 4140).
That night, I was looking at power hammer plans (I don't want to spend alot of money on one - this is a hobby). The appalachian power hammer page looks very interesting, and it looks affordable. It looks like I can make between a 15 and 25 pound hammer for less than $200 USD. I already have some trailer over-load leaf springs, a lead on some washer and dryer motors and a source for some of the metal.
I will more blog about the power hammer after I have collected enough scrap to get started.
Some other power hammer links are below
AnvilFire's coverage of a Junk Yard Hammer
I Forge Iron - Power Hammer by Jeff Reinhardt
I will add several more links tonight.
If you are wondering what we do, look in the archives for my blog of the January 2006 and March 2006 meetings.
[edit: added meeting notes]
Another thing I did at the meeting was to start on a blunt punch from a car coil spring (probably 4140).
That night, I was looking at power hammer plans (I don't want to spend alot of money on one - this is a hobby). The appalachian power hammer page looks very interesting, and it looks affordable. It looks like I can make between a 15 and 25 pound hammer for less than $200 USD. I already have some trailer over-load leaf springs, a lead on some washer and dryer motors and a source for some of the metal.
I will more blog about the power hammer after I have collected enough scrap to get started.
Some other power hammer links are below
AnvilFire's coverage of a Junk Yard Hammer
I Forge Iron - Power Hammer by Jeff Reinhardt
I will add several more links tonight.
If you are wondering what we do, look in the archives for my blog of the January 2006 and March 2006 meetings.
[edit: added meeting notes]
August 30, 2006
Other Blacksmith Blogs and Links
Recently, I have read a book "Metallurgy fundamentals" by Daniel A Brandt. It is written in the style of a 7th grade physical science book - definitely an introductory text. I am glad to learn about the various crystals: ferrite, pearlite, cementite, the molten austenite, and the hardened form - martensite. I have not run across "Isothermal Transformation Diagrams" more than maybe once before, and I'm not sure why I don't see alot of them in blacksmithing books. I would guess that most blacksmiths use the metal color and personal judgement as their guide.
I am still working at the craft, but until I have a more respectable update, here are some links.
Google Books - Blacksmith has some older books with full text. I believe they will be allowing PDF download soon.
Steel Working and Tool Dressing: A Manual of Practical Information for Blacksmiths and All Other Workers in Steel and Iron
The Modern Practice of American Machinists & Engineers: Including the Construction, Application,...
George Dixon - creator of Artist-Blacksmith Magazine
http://artist-blacksmith.blogspot.com
Yet Another Railroad Track Anvil Project
http://www.castle-ranch.com/crafts/Anvil/anvil.htm
(has a recipe for cutting oil)
From The Blacksmith's Corner
http://blacksmithscorner.blogspot.com/
Free PDF Craft Books - some of these are EXCELLENT!
http://www.countryside.gov.uk/NewEnterprise/Economies/craftpublications.asp
Mechanical Engineer's Handbook, 1916 edition
http://chla.library.cornell.edu
Good Books from Amazon
edit: removed a dead link.
I am still working at the craft, but until I have a more respectable update, here are some links.
Google Books - Blacksmith has some older books with full text. I believe they will be allowing PDF download soon.
Steel Working and Tool Dressing: A Manual of Practical Information for Blacksmiths and All Other Workers in Steel and Iron
The Modern Practice of American Machinists & Engineers: Including the Construction, Application,...
George Dixon - creator of Artist-Blacksmith Magazine
http://artist-blacksmith.blogspot.com
Yet Another Railroad Track Anvil Project
http://www.castle-ranch.com/crafts/Anvil/anvil.htm
(has a recipe for cutting oil)
From The Blacksmith's Corner
http://blacksmithscorner.blogspot.com/
Free PDF Craft Books - some of these are EXCELLENT!
http://www.countryside.gov.uk/NewEnterprise/Economies/craftpublications.asp
Mechanical Engineer's Handbook, 1916 edition
http://chla.library.cornell.edu
Good Books from Amazon
edit: removed a dead link.
July 20, 2006
Lessons for July 2006
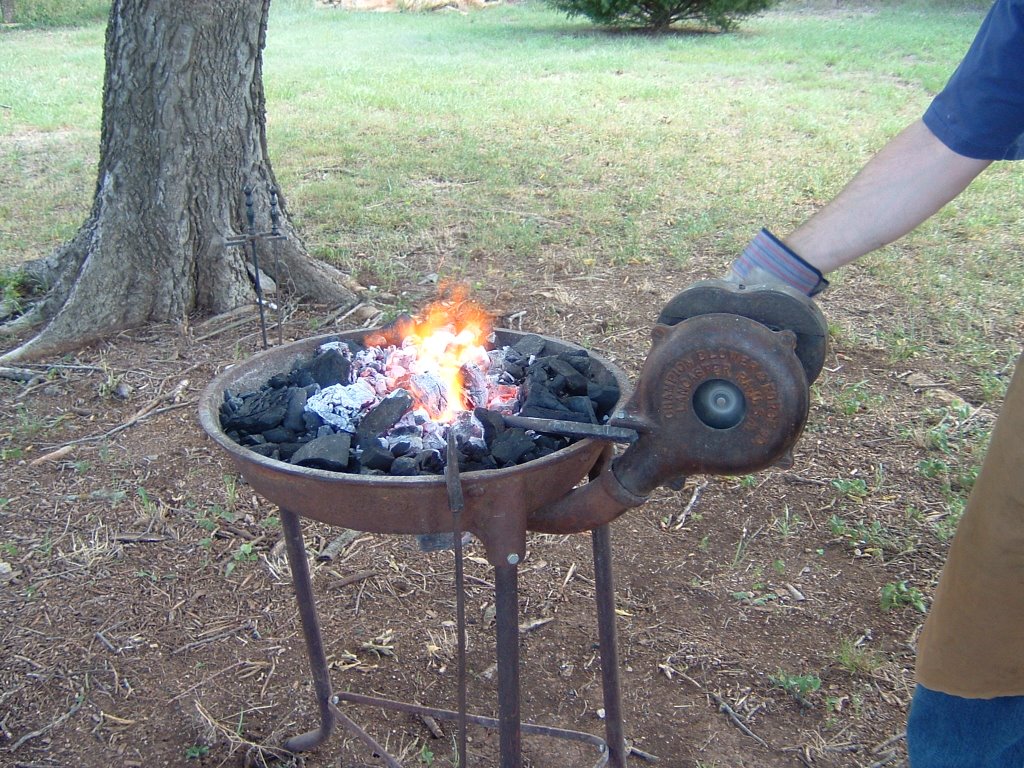
Well, I've had a chance to heat up the forge this month - working on a hardie tool, my first pair of tongs, and straightening a car spring so I can use it as tool stock. As such, I have learned a few lessons useful to beginners. Keep in mind that I'm using hardwood charcoal right now, not coal. Charcoal seems to spark up alot, especially if it is a bit damp. Also, it doesn't seem to get as hot as coal. My metal turns to red or orange, but not to pale yellow or white.

I find that ripped and balled up newspaper with a few small twigs on top starts my fire quickly. Since I have a hand-crank forge, I give the kindling a gentle breeze to encourage it. It is best to forge in a long sleeved cotton shirt, a leather apron, and solid shoes that can't catch an errant spark.
Also, I just bought "New Edge of the Anvil" by Jack Andrews. So far, I am enjoying reading about the basic processes. I like the fact that he doesn't seem to leave any steps out. He starts with an overview of the equipment needed, as well as equipment that will be obtained in the future; then he starts the "working" part of the book with lighting a fire.
After I have built my first set of tongs, I will try to do a step-by-step when I make my next pair. I used the iForge tongs article on AnvilFire.

I find that ripped and balled up newspaper with a few small twigs on top starts my fire quickly. Since I have a hand-crank forge, I give the kindling a gentle breeze to encourage it. It is best to forge in a long sleeved cotton shirt, a leather apron, and solid shoes that can't catch an errant spark.
Also, I just bought "New Edge of the Anvil" by Jack Andrews. So far, I am enjoying reading about the basic processes. I like the fact that he doesn't seem to leave any steps out. He starts with an overview of the equipment needed, as well as equipment that will be obtained in the future; then he starts the "working" part of the book with lighting a fire.
After I have built my first set of tongs, I will try to do a step-by-step when I make my next pair. I used the iForge tongs article on AnvilFire.
May 08, 2006
Charcoal making
First ... why don't I just buy some charcoal at the local store? Well, most of this is in a pressed brick form, and is not pure wood product. It is too dirty to use in a forge (among other things). If you are careful, you can get real wood charcoal for about $5.00 per bag at Walmart. This is what I have been using recently, but I live on 20 acres of land in the country, and I would like to be a bit more self-sufficient. I collected the following links, but have not been able to try them out due to a burn ban in Oklahoma. The burn ban was recently lifted, so maybe I can give one of the simpler methods a try.
Here are the links and ideas about charcoal making that I have found recently.
Discovery has a good educational article on charcoal's benefits
Backwoods Home: Makeshift Forge and simple directions for Charcoal
Making charcoal in a 55 gallon drum.
Making charcoal by re-directing the volatiles down into the fire.
BBQ Charcoal Making
Arkansas Charcoal
If someone tries this out, be sure to take pictures and share your blog link, or just add a comment here.
Here are the links and ideas about charcoal making that I have found recently.
Discovery has a good educational article on charcoal's benefits
Backwoods Home: Makeshift Forge and simple directions for Charcoal
Making charcoal in a 55 gallon drum.
Making charcoal by re-directing the volatiles down into the fire.
BBQ Charcoal Making
Arkansas Charcoal
If someone tries this out, be sure to take pictures and share your blog link, or just add a comment here.
March 28, 2006
March 2006 Saltfork Craftsmens Meeting
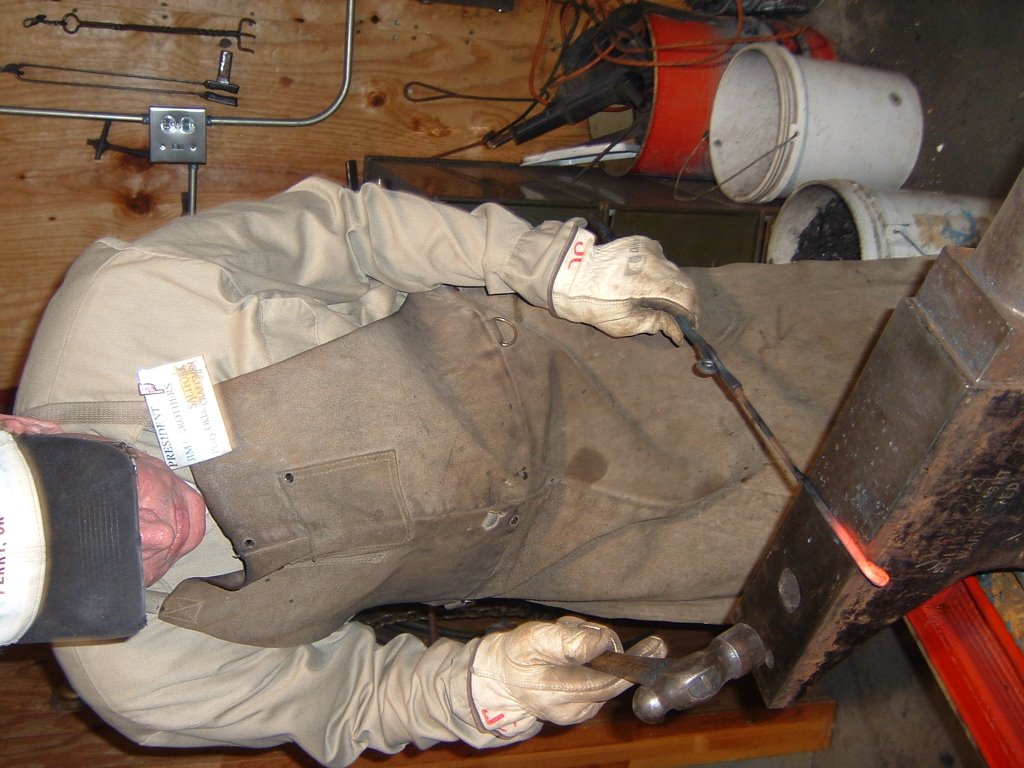
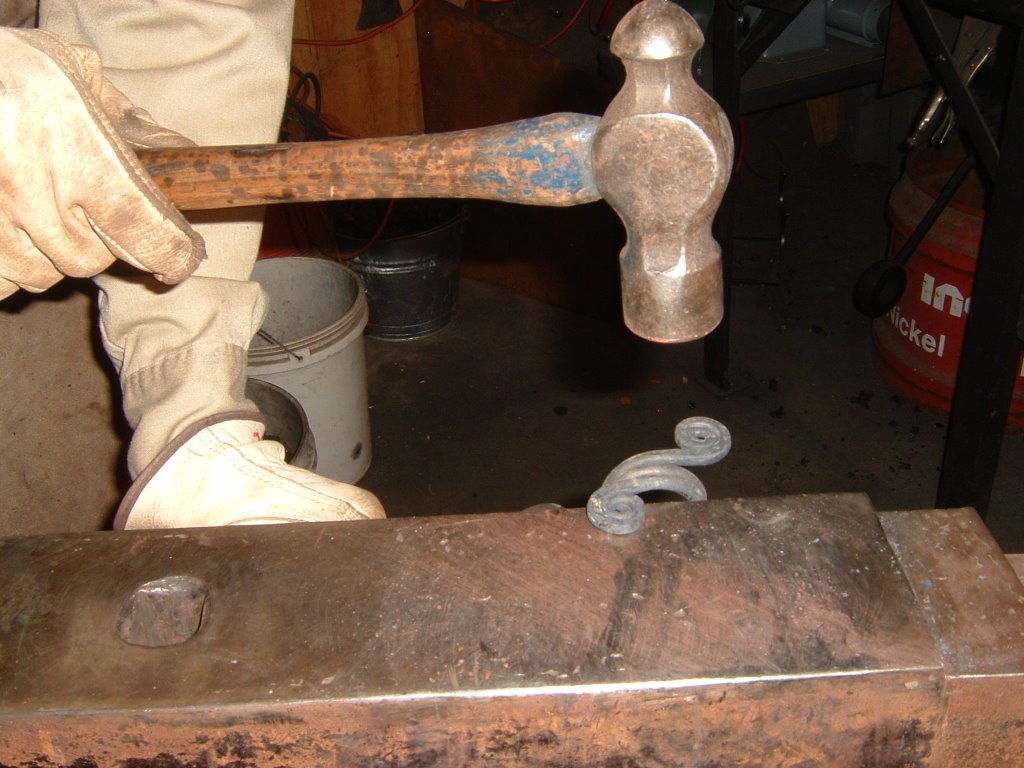
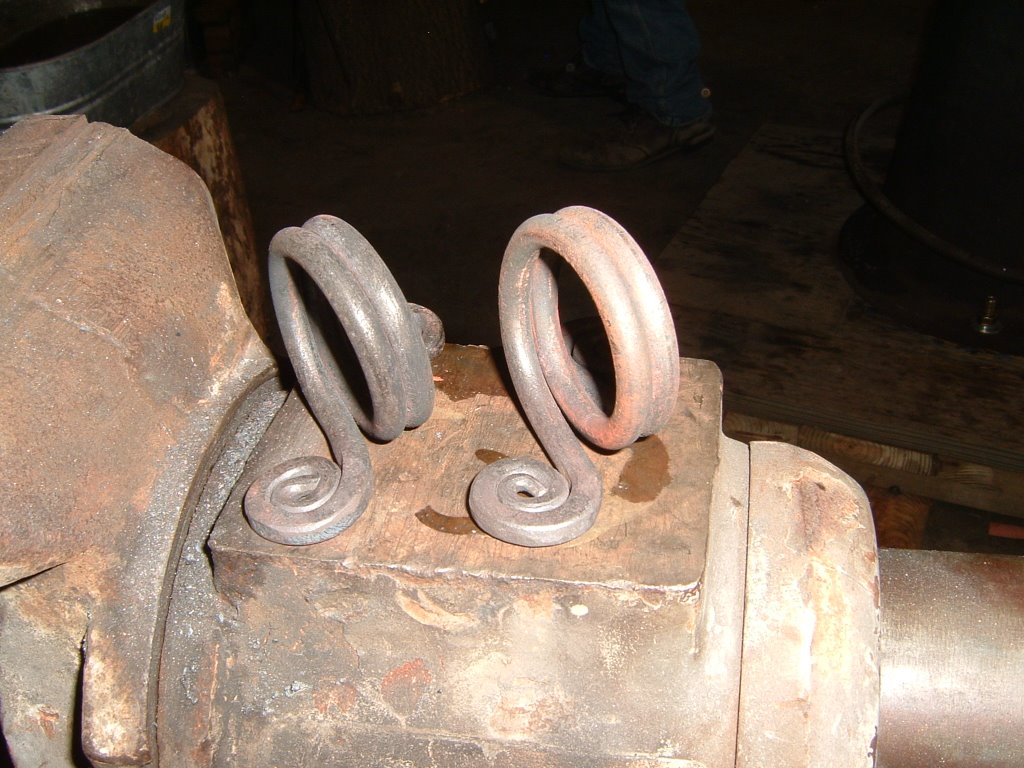
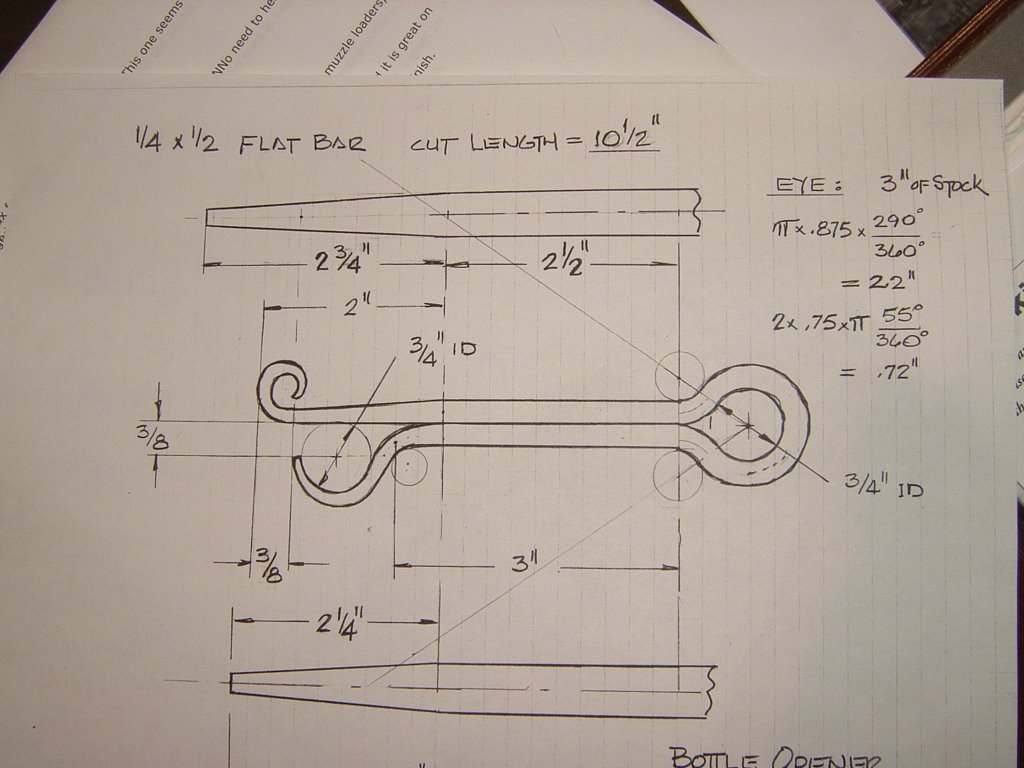
I attended the March 2006 North-East regional meeting of the Saltfork Craftsmen Artist-Blacksmith Association at Dan and Pat Cowart's house. It was a fairly casual affair. Mike Sweeney brought a chunk of exotic metal and forged a rough knife blade using Dan's power hammer. After this, Mike and Mike made a scrolling tool but they were not especially hapy with it. Jim Caruthers made 2 napkin rings and gave them to Pat Cowart. Jim Caruthers then made a bottle opener, and even added a collar with help from Ed Brazeal. Ed made a collaring tool right there on the spot! Jim Caruthers took some time towards the end of the meeting to give a lesson to a college student and I. We made a J hook that you nail into the wall to hang a hat or coat on. Tracy (Dan's son) stood by and helped me through the project.
After it was all over, Dan loaned me a portable hand-crank coal forge! Look for more about that in my next blog.
Here are the pictures:
After it was all over, Dan loaned me a portable hand-crank coal forge! Look for more about that in my next blog.
Here are the pictures:
February 01, 2006
Looking for a Forge
I need a forge, be it coal, propane, natural gas - whatever! Since I am trying to get started "on a shoe-string," I will probably have to make a coal forge from the scrap that I am selectively gathering. As a side note, I try very hard not to take home something that I can't use. When I ran across some 3 to 4 foot long 2x4 lumber, I asked around work and gave about 18 sticks away to a friend who was renovating their house. I don't want to be wasteful, but I also don't want to fill my shop with so much stuff that I can't do any work.
Anyone who has read my earlier posts knows that I have been scrounging. That is a good thing, as alot of this stuff would be thrown away, and contributing to the landfills of our consumption-based materialistic society - don't get me started. My brother tipped me off to my latest "find" - a business had closed down, and they were renovating the insides. Actually, they were gutting the shelves and display areas. My brother received permission to take all he wanted: a wire security cage, plywood, 2x4, pressed board shelving, metal shelf arms and wall strips, wall-mounted electrical strips, 2 outlet electrical boxes and laminated shelves. We had to pull the stuff over one weekend, since the wrecking crew were coming monday, and they would be smashing instead of pulling every screw and nail. We probably pulled 40+ 2x4s, 120+ shelf brackets, 6 electrical strips, 12+ electrical boxes and a few pressed board shelves. That is cool and all, but none of this really contributed to my immediate forging goals.
I found some square tubing and angle iron (in the form of a shed door) in the brush behind my house (I haven't had time to clean up my land yet.) I'm thinking about cutting it up to make legs for a coal forge, or maybe a work bench.
I will probably not build a concrete block and brick forge - just too bulky. I might make a brake drum forge, or just use the plans from "Forge & Anvil" - a wheelbarrow pan with fire brick, fire clay and a wooden frame. I have some 2x4 wood scraps that would work fine, but no fire brick or fire clay. Lowes has a tiny plastic container of fireplace repair mortar - maybe 8 ounces. Any kind of coal forge will need a firepot, a tuyere, and a blower. The blower might end up costing me a few dollars if I have to buy it off of ebay. I am hoping to use some pipe and a home-made grate to make a poor-man's tuyere. I would love to find some 10 to 12 inch stove pipe so I could position the forge inside my shop, rather than at the door.
In other news, I have been looking for charcoal making instructions on the web. I'll share my findings with you in a future entry.
IForgeIron.com had a tip: Flexible metal dryer vent can be used for the air supply connection to the forge. We'll see.
A fellow member of SCABA is going to loan me a coal forge for a few months! Now all I have to do is go visit him.
Update: A mechanic friend mentioned that I should be VERY careful with brake drums, since brake pads may have asbestos in them, and the asbestos embeds itself into the drum. Let's hope you find a drum with Kevlar pads. I don't have specific safety recommendations for you, but use a tight-sealing air mask when handling and cleaning your brake drum!
Anyone who has read my earlier posts knows that I have been scrounging. That is a good thing, as alot of this stuff would be thrown away, and contributing to the landfills of our consumption-based materialistic society - don't get me started. My brother tipped me off to my latest "find" - a business had closed down, and they were renovating the insides. Actually, they were gutting the shelves and display areas. My brother received permission to take all he wanted: a wire security cage, plywood, 2x4, pressed board shelving, metal shelf arms and wall strips, wall-mounted electrical strips, 2 outlet electrical boxes and laminated shelves. We had to pull the stuff over one weekend, since the wrecking crew were coming monday, and they would be smashing instead of pulling every screw and nail. We probably pulled 40+ 2x4s, 120+ shelf brackets, 6 electrical strips, 12+ electrical boxes and a few pressed board shelves. That is cool and all, but none of this really contributed to my immediate forging goals.
I found some square tubing and angle iron (in the form of a shed door) in the brush behind my house (I haven't had time to clean up my land yet.) I'm thinking about cutting it up to make legs for a coal forge, or maybe a work bench.
I will probably not build a concrete block and brick forge - just too bulky. I might make a brake drum forge, or just use the plans from "Forge & Anvil" - a wheelbarrow pan with fire brick, fire clay and a wooden frame. I have some 2x4 wood scraps that would work fine, but no fire brick or fire clay. Lowes has a tiny plastic container of fireplace repair mortar - maybe 8 ounces. Any kind of coal forge will need a firepot, a tuyere, and a blower. The blower might end up costing me a few dollars if I have to buy it off of ebay. I am hoping to use some pipe and a home-made grate to make a poor-man's tuyere. I would love to find some 10 to 12 inch stove pipe so I could position the forge inside my shop, rather than at the door.
In other news, I have been looking for charcoal making instructions on the web. I'll share my findings with you in a future entry.
IForgeIron.com had a tip: Flexible metal dryer vent can be used for the air supply connection to the forge. We'll see.
A fellow member of SCABA is going to loan me a coal forge for a few months! Now all I have to do is go visit him.
Update: A mechanic friend mentioned that I should be VERY careful with brake drums, since brake pads may have asbestos in them, and the asbestos embeds itself into the drum. Let's hope you find a drum with Kevlar pads. I don't have specific safety recommendations for you, but use a tight-sealing air mask when handling and cleaning your brake drum!
January 19, 2006
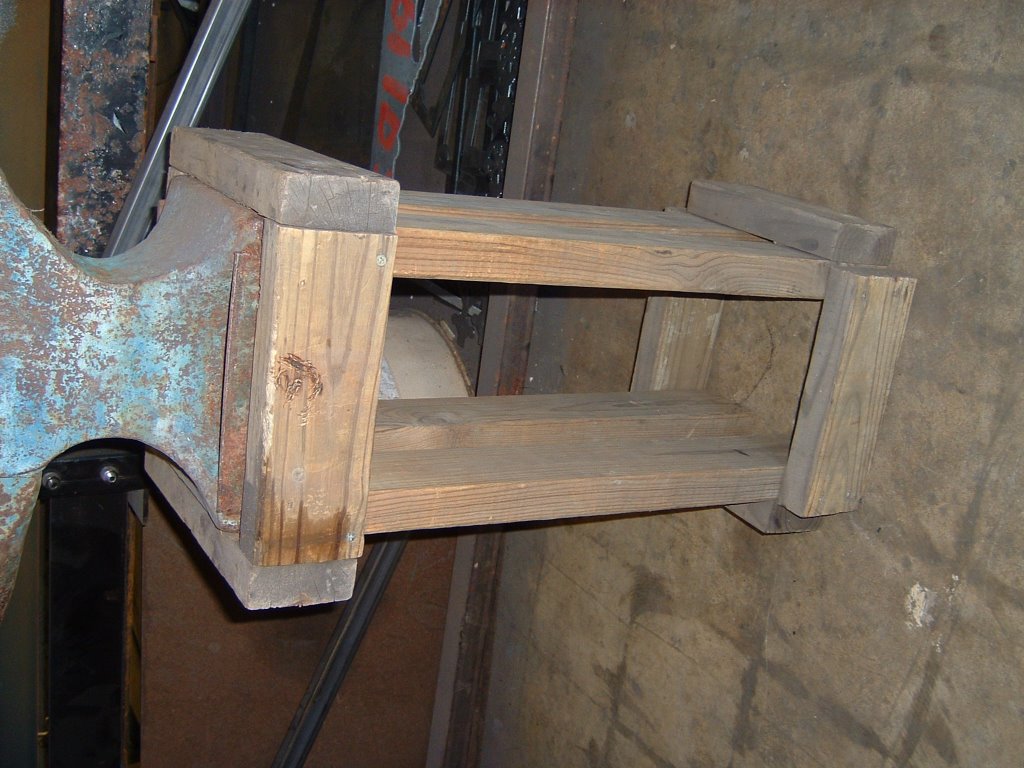
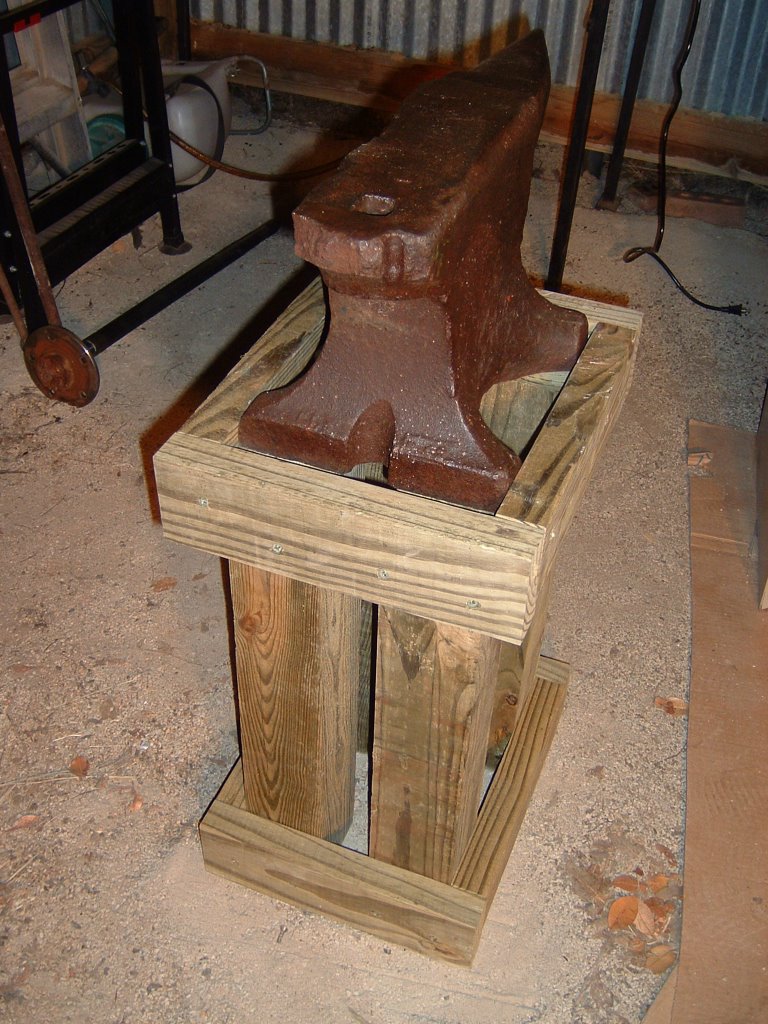
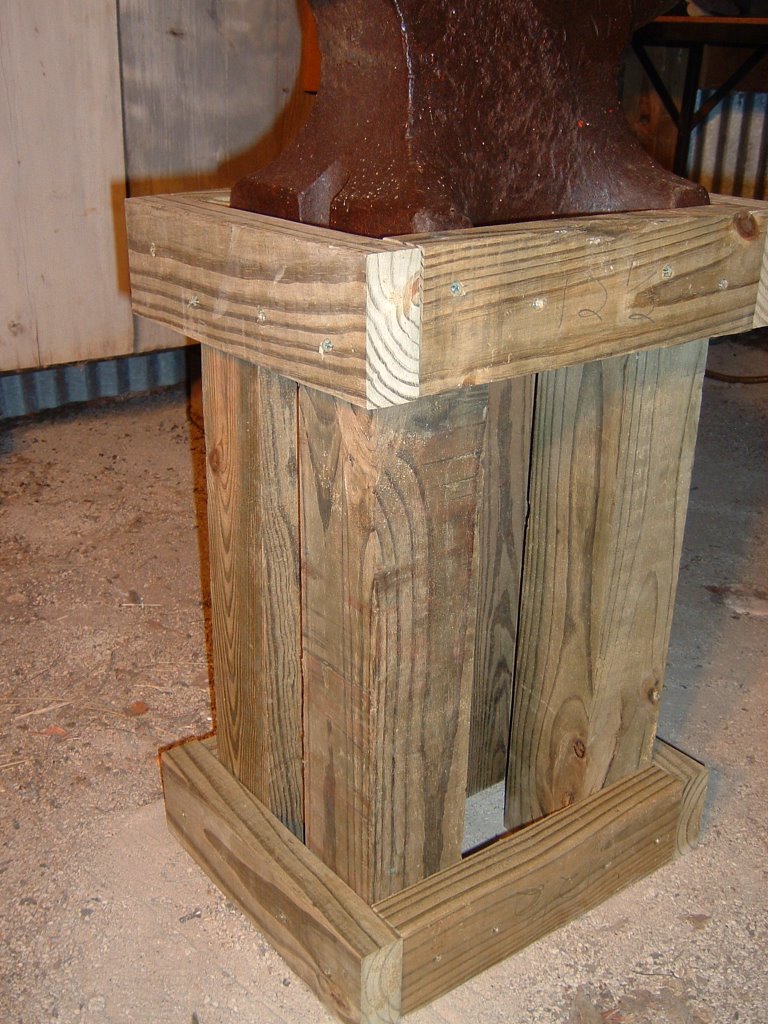
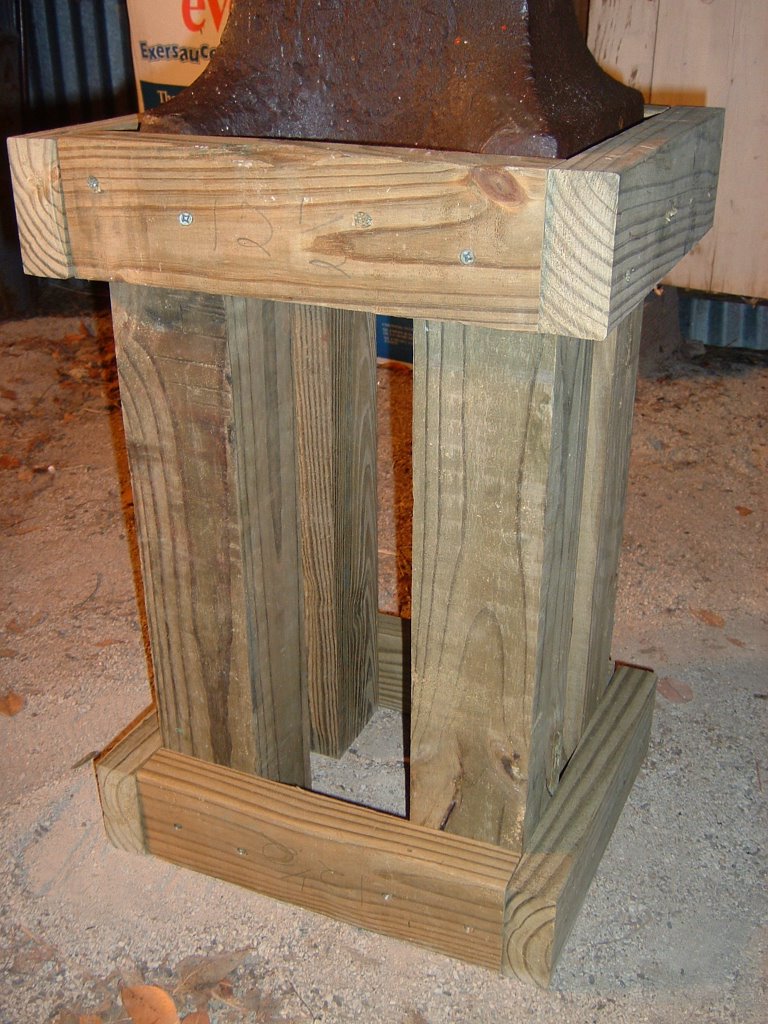
A wooden anvil stand
I need a stand for my anvil. I spotted a simple stand at the January 2006 Saltfork Craftsmen's meeting that I think I could build.

I modified the design to fit the miscellaneous lumber that I have available. I used:


Since I used 4x4 supports, I haven't added any metal strapping or cross-bracing to this. I am not sure if I want to use the same stand for both anvil and swage block, or to make another one to support my swage block. The anvil base measures 9.25 x 11 inches, and the swage block measures 12 x 7.5 x 3.5 inches. Since I have limited floor space, I might end up using the swage block in the same stand. For that purpose, I made the stand hold a 12 x 9.5 inch tool. If you want to make one, measure from the floor to your knuckles, add 2 inches to avoid hyper-extension of your elbow joint, and subtract the height of your anvil. This is the height of your uprights (22 inches in my case). You can make the sides about 1/2 inch longer than the length of your anvil/swage base. For the ends you should add 1/2 inch for slop and 3 1/4 inches to overlap the two "side" 2x4s.
Regarding the anvil, I have worked the top and sides with a wire-brush to remove some of the rust and paint. I haven't taken a grinder to it yet, as I'm not sure if that is wise. I can take metal off quickly, but putting it back on would be very difficult.

I modified the design to fit the miscellaneous lumber that I have available. I used:
- four 2x4 boards 12 1/2 inches for sides (these boards are flush with the uprights)
- four 2x4 boards 12 3/8 inches for ends (these boards overlap the ends of the other 2x4s)
- four 4x4 boards 22 inches for uprights
- 3 1/2 inch screws


Since I used 4x4 supports, I haven't added any metal strapping or cross-bracing to this. I am not sure if I want to use the same stand for both anvil and swage block, or to make another one to support my swage block. The anvil base measures 9.25 x 11 inches, and the swage block measures 12 x 7.5 x 3.5 inches. Since I have limited floor space, I might end up using the swage block in the same stand. For that purpose, I made the stand hold a 12 x 9.5 inch tool. If you want to make one, measure from the floor to your knuckles, add 2 inches to avoid hyper-extension of your elbow joint, and subtract the height of your anvil. This is the height of your uprights (22 inches in my case). You can make the sides about 1/2 inch longer than the length of your anvil/swage base. For the ends you should add 1/2 inch for slop and 3 1/4 inches to overlap the two "side" 2x4s.
Regarding the anvil, I have worked the top and sides with a wire-brush to remove some of the rust and paint. I haven't taken a grinder to it yet, as I'm not sure if that is wise. I can take metal off quickly, but putting it back on would be very difficult.
Subscribe to:
Posts (Atom)